Step-by-Step Guide: Installing Overhead Garage Storage Racks
If your garage is cluttered, installing overhead storage racks is an excellent way to reclaim space and improve organization. Follow this step-by-step guide to install these racks effectively while ensuring safety.
Benefits of Overhead Garage Storage Racks
- Maximize Space: Utilize unused ceiling areas to free up floor space for vehicles or workbenches.
- Organize Items: Store sea sonal or rarely used items overhead, making frequently accessed tools more accessible.
- Improve Accessibility: Elevated storage makes it easier to locate and retrieve items without rummaging through piles.
- Enhance Safety: Reduce tripping hazards and prevent damage by keeping heavy or bulky items off the ground.
Preparation Before Installation
1. Measure Your Garage Space
- Measure the length, width, and height of your garage ceiling.
- Identify potential obstacles like light fixtures or garage door openers.
- Ensure enough clearance for tall vehicles or equipment stored underneath.
2. Choose the Right Rack Size
- Select a rack size that fits your garage dimensions and storage needs. Common sizes range from 2 ft x 8 ft to 4 ft x 8 ft, with varying weight capacities.
- Ensure the rack can hold all intended items while leaving room for easy access.
3. Gather Tools and Materials
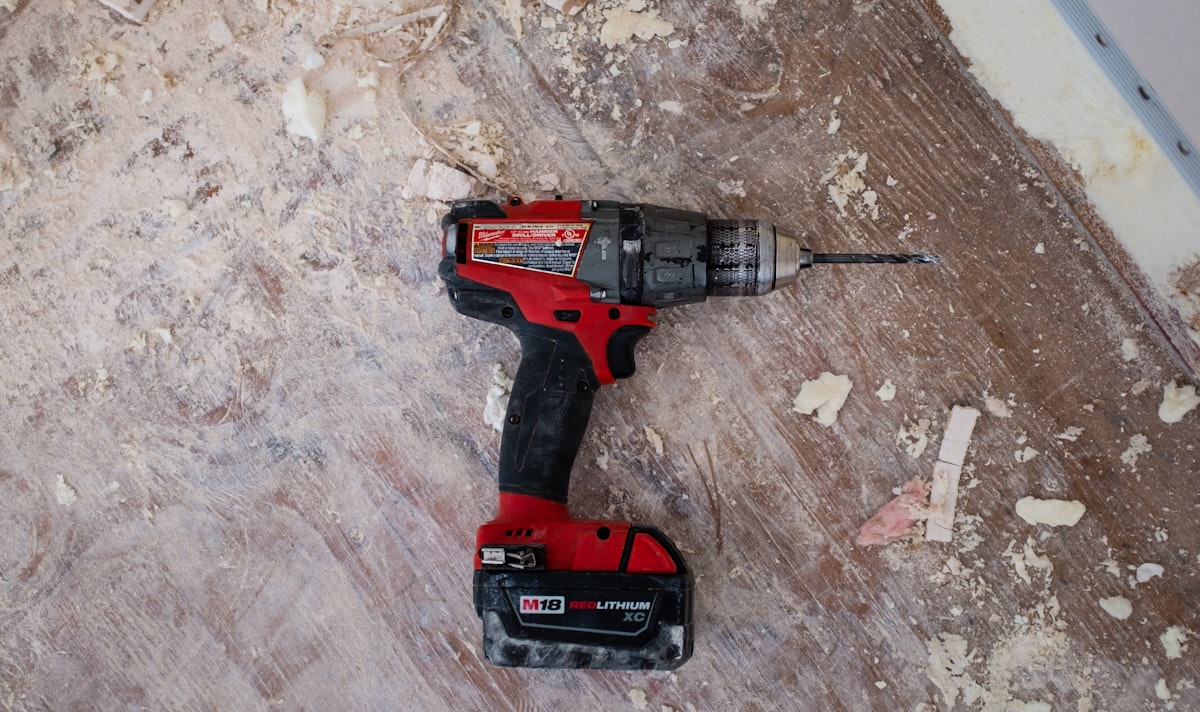
- Tools: Drill, screwdriver, stud finder, measuring tape, leveler, ladder/step stool, and safety goggles.
- Hardware: Lag bolts, washers, wood screws (if not included), and pine stop strips for extra support if needed.
Installation Steps
1. Locate Ceiling Joists
The most critical part of installation is finding and marking ceiling joists, as these provide the structural support necessary for your rack.
- Use a stud finder to locate joists in your ceiling.
- Mark each joist location with a pencil.
- Verify joist locations by drilling a small pilot hole.
- Measure and mark where each rack support will attach to the joists.
Safety Tip: Never mount overhead racks to drywall alone. Always secure to ceiling joists or structural beams.
2. Install Ceiling Brackets
- Align each bracket with at least two joists for maximum stability.
- Securely attach brackets using lag bolts and washers. Ensure they are evenly spaced across the installation area.
3. Assemble the Rack Frame
- Follow the manufacturer’s instructions to assemble the frame. Use all provided components for a secure fit.
- Double-check connections to ensure stability when loaded with heavy items.
4. Mount the Frame onto Ceiling Brackets
- With assistance, lift the assembled frame onto the installed brackets.
- Securely tighten all bolts and screws. Check for any wobbling or instability before proceeding.
5. Anchor the Rack to Wall Studs
- For added support, attach the rack to wall studs using wood screws and pine stop strips.
- Avoid overtightening screws to prevent damage to walls or the rack system.
Professional Installation vs. DIY
While DIY installation is possible for those with basic handyman skills, professional installation offers several advantages:
Benefits of Professional Installation
- Expert assessment of ceiling structure and load-bearing capacity
- Proper identification of joists and structural supports
- Guaranteed secure installation with appropriate hardware
- Warranty protection for both the rack and installation work
Weight Distribution and Safety
Proper Weight Distribution
- Distribute weight evenly across the rack to prevent sagging or collapse.
- Place heavier items toward the center of the rack where support is strongest.
- Keep total weight within the manufacturer's specified capacity.
Safety Tips
- Enlist Help: Have someone assist you during installation, especially when lifting heavy components.
- Wear Safety Gear: Use gloves, eye protection, sturdy footwear, and a dust mask if necessary.
- Avoid Overloading: Adhere to the manufacturer’s weight capacity guidelines (e.g., Fleximounts racks support up to 550 lbs). Distribute weight evenly across shelves.
For more safety tips, visit this page.
Final Thoughts
Installing overhead storage racks can transform your garage into a more functional space by providing additional storage while improving safety and organization. Remember to measure accurately, select appropriate tools, and follow safety precautions throughout the process.
For more detailed guidance on specific rack models or recommendations on tools and materials, check out this comprehensive guide.


